Tutorial: Styling the TinyMCE editor
This step-by-step tutorial will guide the reader in styling their TinyMCE editor (the rich text WYSIWYG editor used in Lorekeeper) by applying a skin made with Tiny's skin tool.
This is more focused on the technical aspects of creating and using a skin and will not be covering the details of the skin editor itself or offering any design advice.
NOTE: If you are using the Theme Manager extension, the TinyMCE skin will always be the same for everyone. There is probably a way to make the Theme Manager work with styling the editors as well, but that is not covered in this tutorial.
Tutorial done by Draginraptor. Feel free to find me on the Lorekeeper discord if you need help.
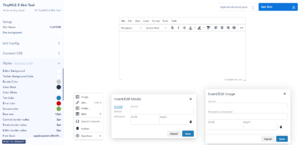
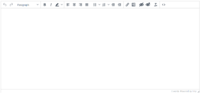
Default skin on the TinyMCE Skin Tool
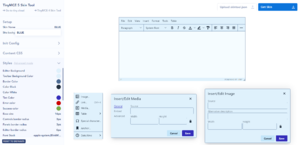
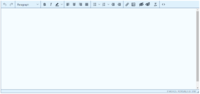
Image of a custom skin for this tutorial on the TinyMCE Skin Tool


Contents
Using the TinyMCE Skin Tool
For details on using the tool, check out this post on Tiny's blog. Once you're satisfied with the skin, hit the 'Get Skin' button on the upper right to download a zip containing a 'skins' folder, and a 'skintool.json' file. You may download and unzip this file wherever you see fit. The json file is not needed when using the skin, but is useful if you wish to edit your skin later, by uploading it to the Skin Tool with the 'Upload skintool.json' button in the upper right.

Using a skin
Adding the skin
In the 'skins' folder, there will be two folders, 'content' and 'ui', and within each will be another folder with the name of the skin as set in the tool. Within those folders, will be the CSS and other files used in styling the editor.
On Windows, you can simply copy the 'content' and 'ui' folders and paste them in public/js/skins, and the folders will automatically sort themselves out. I'm unsure if this works on other platforms, but if not, you can always copy the inner folders (the ones with name of the skin) into their respective 'content' and 'ui' folders for the same effect.
The example skin used in this tutorial is called 'BLUE' and you should have a folder structure similar to the one below when you are done adding the skin.

Skins folder before adding a custom skin
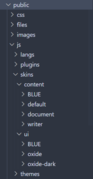
Skins folder after adding a custom skin, note the two new 'BLUE' folders


Applying the skin
At this point, the TinyMCE editor will still have its default look. It still needs to be configured in the tinymce.init() call to use the custom skin.
You'll have to add '{{ asset('js/skins/content/{skin_name}/content.min.css') }}' to 'content_css' and add an additional parameter: skin: '{skin_name}' to the tinymce.init() call.
If you're interested in using the pre-existing skins in Lorekeeper's folders, in general, you have to add the corresponding content.min.css to 'content_css', and specify the name of the skin you want to use (e.g. oxide, oxide-dark), which should also be the name of its folder.
Refer to the image below for how one of the tinymce.init() calls has been configured to use the newly added BLUE skin.
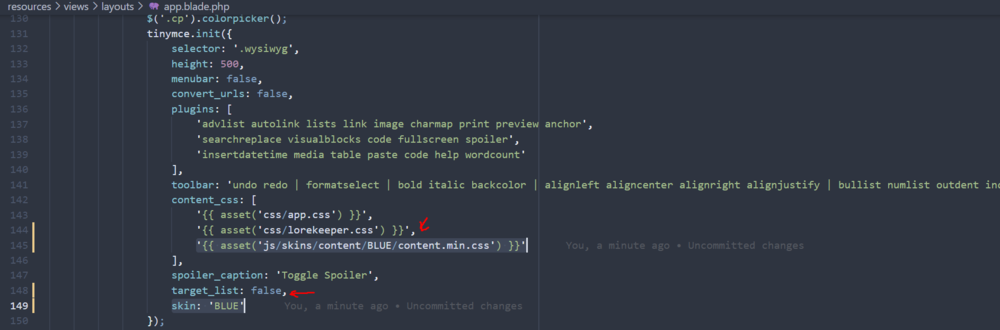
Note the commas indicated by the arrows, these may have to be added accordingly to avoid syntax errors

You will want to add these changes to every tinymce.init() call in the project. As of 27 Jul 2021, there are tinymce.init() instances in the following files:
- resources/views/layouts/app.blade.php
- resources/views/js/_modal_wysiwyg.blade.php
- resources/views/character/_image_js.blade.php (2 instances)
Alternatively, you can use something like Visual Studio Code to search all the files for 'tinymce.init'.
Once that's done, you should now see that the skin has been applied! You may have to do a hard refresh (ctrl+f5 or equivalent) to see the changes.
Default skin (oxide)
Custom skin (BLUE)


See Also
- TinyMCE Skin Tool - the tool referenced in this tutorial
- Tiny's Blog - many posts on customising the Tiny editor if you're keen on doing so
- TinyMCE Documentation - more technical documents on the Tiny editor