Difference between revisions of "Tutorial: Styling the TinyMCE editor"
Jump to navigation
Jump to search
Draginraptor (talk | contribs) (Created page with "'''Currently a WIP''' This tutorial will guide the reader in styling their TinyMCE editor (the rich text WYSIWYG editor used in Lorekeeper) by applying a skin made with [http...") Tag: 2017 source edit |
Draginraptor (talk | contribs) Tag: 2017 source edit |
||
| Line 4: | Line 4: | ||
This is more focused on the technical aspects of using a completed skin and will not be covering the details of the skin editor itself. | This is more focused on the technical aspects of using a completed skin and will not be covering the details of the skin editor itself. | ||
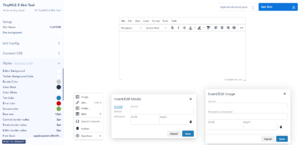
| − | [[File:Default TinyMCE Skin.png|alt=Image of the default skin on [http://skin.tiny.cloud/t5/ Tiny's skin editor tool]|thumb| | + | [[File:Default TinyMCE Skin.png|alt=Image of the default skin as seen on Tiny's skin editor tool|thumb|Default skin seen on [http://skin.tiny.cloud/t5/ Tiny's skin editor tool]]] |
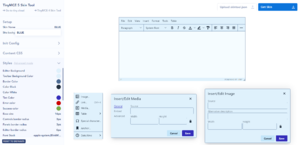
| + | [[File:Tutorial TinyMCE Skin.png|alt=Image of a custom skin that will be used in this tutorial as seen on Tiny's skin editor tool|thumb|A custom skin that will be used in this tutorial as seen on [http://skin.tiny.cloud/t5/ Tiny's skin editor tool]]] | ||
Revision as of 05:59, 26 July 2021
Currently a WIP
This tutorial will guide the reader in styling their TinyMCE editor (the rich text WYSIWYG editor used in Lorekeeper) by applying a skin made with Tiny's skin editor tool. This is more focused on the technical aspects of using a completed skin and will not be covering the details of the skin editor itself.

Default skin seen on Tiny's skin editor tool

A custom skin that will be used in this tutorial as seen on Tiny's skin editor tool